Start Observing your AWS EKS Cluster… in less than 5 minutes
SUSE Cloud Observability provides a comprehensive platform for Kubernetes workloads, combining open standards like OpenTelemetry, out of the box dashboards, many SRE practices and guided remediation—all at an affordable price for any scale.
In this post, we’ll show you how to use our new Add-on to include your AWS EKS clusters in SUSE Cloud Observability, in just a few simple steps.
Prerequisites
First off, you need to have a SUSE Cloud Observability account (or a freestanding SUSE Observability server). You can sign up for SUSE Cloud Observability directly through AWS Marketplace.
Secondly, you need to have an AWS EKS cluster up & running. You can learn more about AWS EKS clusters with the AWS docs.
Adding the Add-on
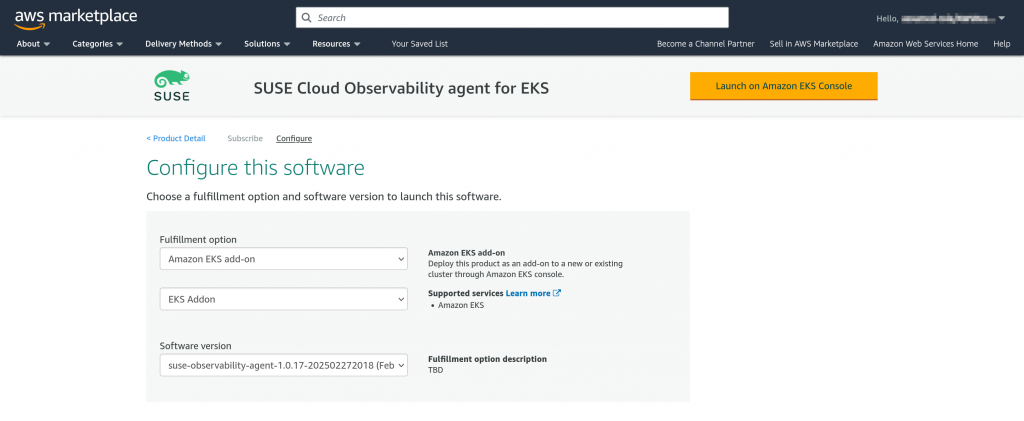
We’ll start off by visiting the AWS Marketplace, to subscribe to the (free) SUSE Cloud Observability agent for EKS.

Click on “View Purchase Options“, then “Continue to Configuration“.

Select “Amazon EKS add-on” as the “Fulfillment option“, then click “Launch on Amazon EKS Console“.
Now, you can install the add-on to your EKS cluster. Navigate to the “Add-ons” tab, then click “Get more add-ons” – which will take you to “Step 1: Select add-ons“.
Scroll down to “AWS Marketplace add-ons“, and either select the vendor “SUSE” or search for “SUSE Cloud Observability”.
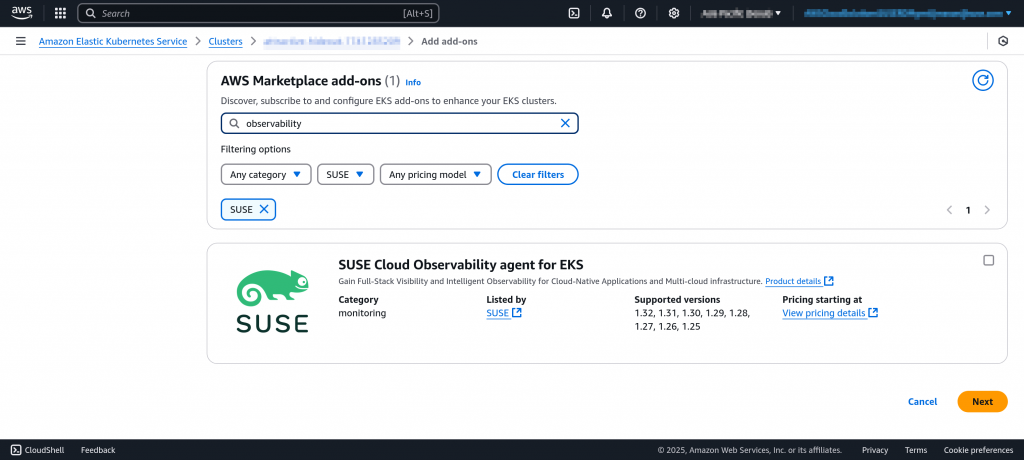
Check the box on the right-hand side of the add-on’s tile, and click “Next” – which will take you to “Step 2: Configure selected add-ons settings“.
Click on “Optional configuration settings” to expand the section. ( If you don’t see this section, click “Next“, then “Previous“, and it should show up for you. ) It’s important that you find this section, as the “optional” settings aren’t optional – they are mandatory to tell your agent how to talk to your SUSE Observability server!
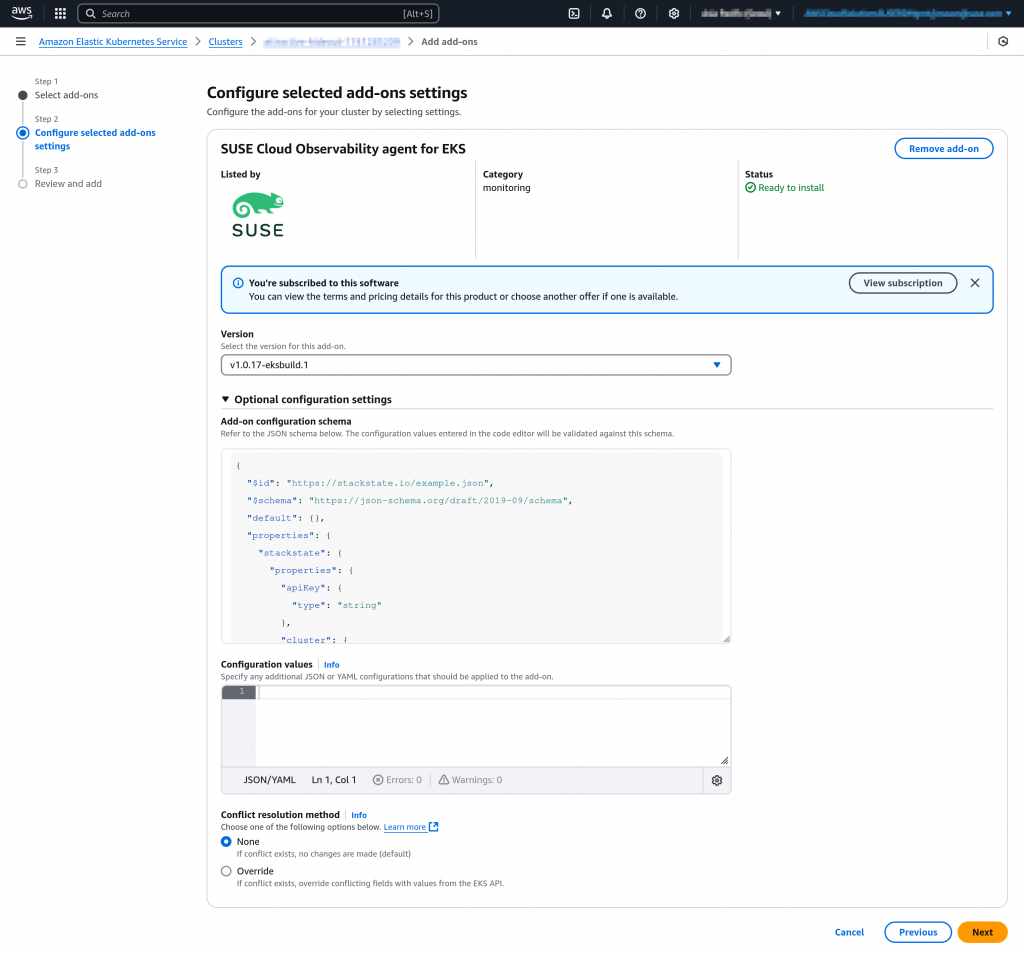
Copy the following snippet, and paste into the “Configuration values” textbox:
stackstate:
  cluster:
    name: <Cluster Name>
  url: <StackState Ingest URL>
  apiKey: <Api Key>
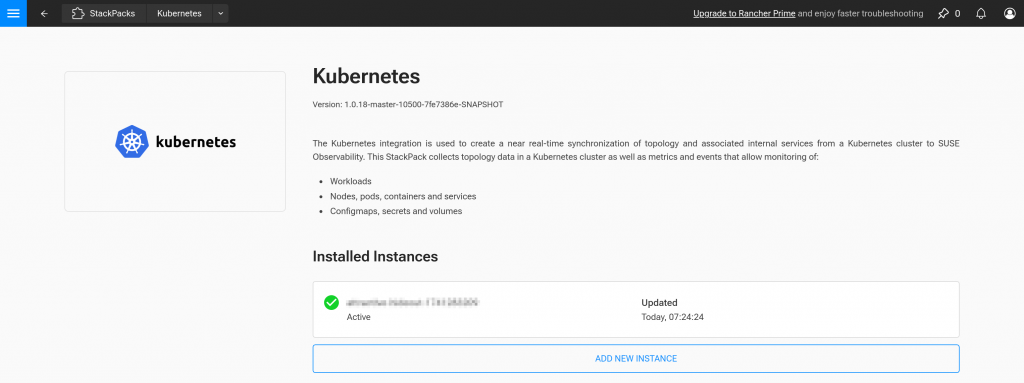
Now, open your SUSE Cloud Observability account. Click on the left-hand “hamburger” menu ( ☰ ), and click “StackPacks“. Click the “Kubernetes” tile, then click “ADD NEW INSTANCE“.
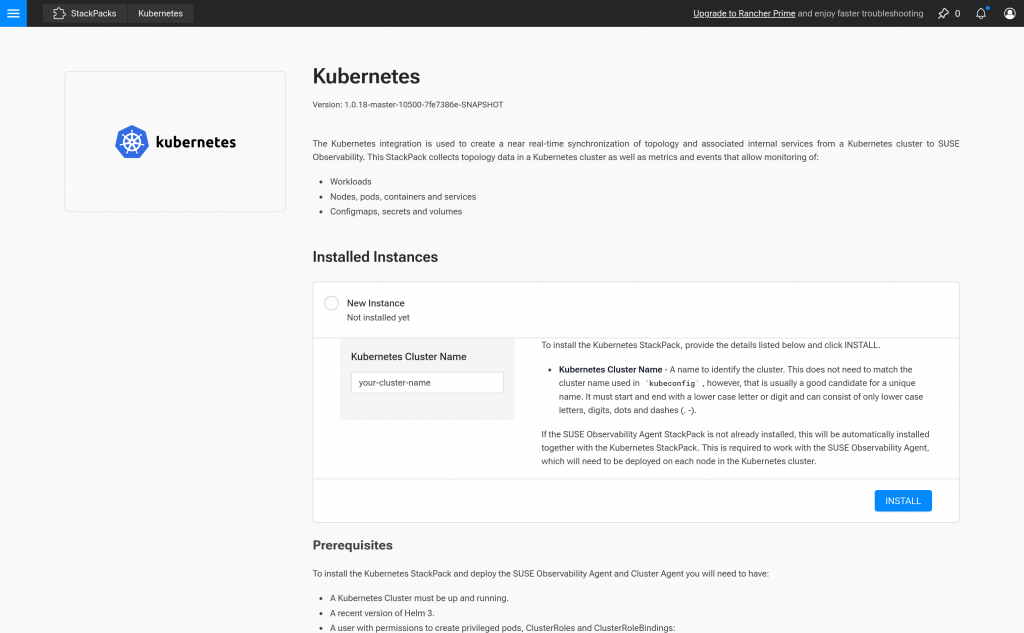
Copy the name of your EKS cluster, and enter it as the “Kubernetes Cluster Name“, and click “INSTALL“. The StackPack will report “Installed. Waiting for data…”

Note the “Instance credentials” provided, and replace the placeholders in your Add-in Configuration values with the “Cluster Name“, “StackState Ingest URL“, and “Api Key“, then ensure “None” is selected as the “Conflict resolution method” for the Add-in.
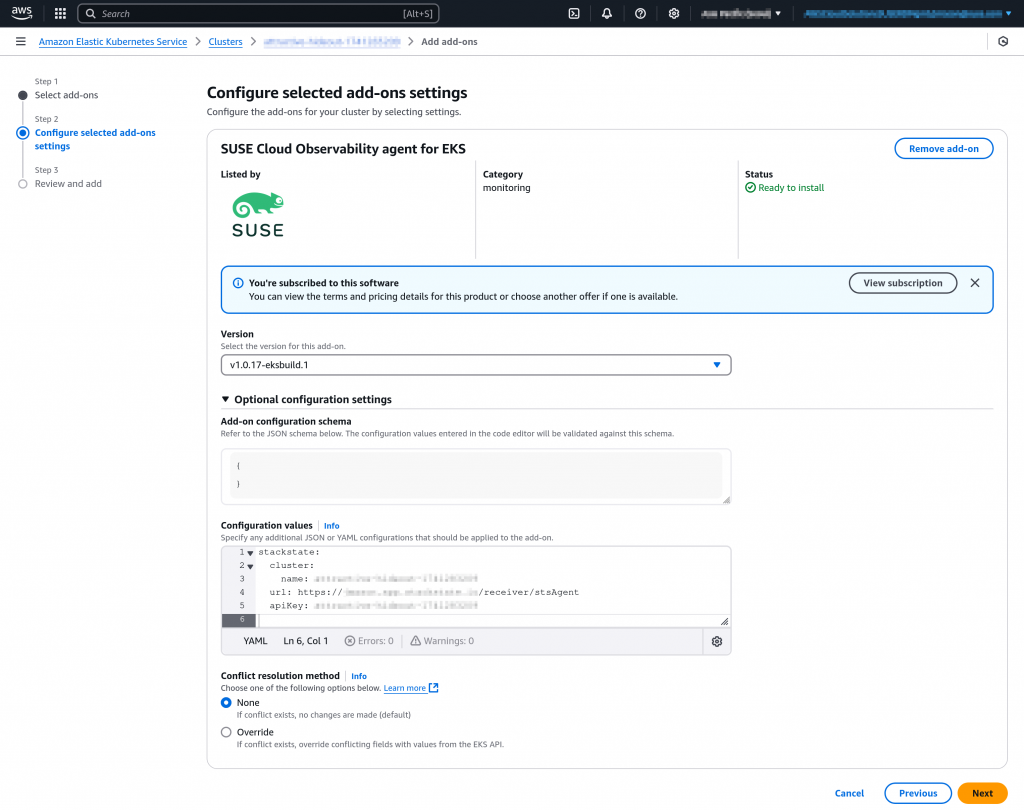
Click “Next” to go to “Step3: Review and add“, and click “Create“.
The SUSE Cloud Observability agent for EKS will now be present on the Add-ons tab, with a status of “Creating”.
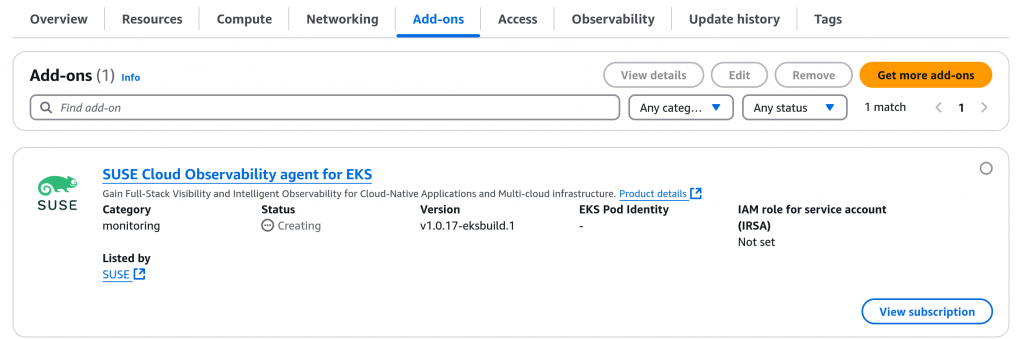
Shortly, you will see the newly created Kubernetes StackPack in SUSE Observability change status to “Active”.
Congratulations! You have successfully configured the SUSE Cloud Observabilility Agent as an EKS Addon.
If you’re curious about SUSE Cloud Observability SaaS, please see this blog post.